Drawing Pine Trees: Your Simple Guide To Capturing Nature's Beauty
Learning how to draw a pine tree might seem like a big project, but it is actually much simpler than you might think. Many people find joy in sketching things from nature, and pine trees, with their unique shapes, really stand out. You can, you know, create something quite lovely with just a few easy steps, and it feels pretty good to see your art come to life.
So, whether you are just starting out with drawing or you want to add some evergreen trees to your pictures, this guide is for you. We will go over, for instance, how to make simple strokes turn into the grand look of a pine tree. It is a way to bring a bit of the forest onto your paper, and it is honestly quite calming.
Today, we will walk through a complete pine tree drawing in just nine easy steps. This is a guide for kids and anyone who wants to learn, and by the end, you could make a pretty impressive drawing. We will also talk about what makes pine trees special, which will help your drawings feel more real, so stick around.
Table of Contents
- Getting Started with Pine Tree Drawing
- Why Draw Pine Trees Anyway?
- What Makes a Pine Tree Look Like a Pine Tree?
- Getting Ready to Draw: Your Simple Supplies
- Your 9-Step Guide to a Pine Tree Drawing
- Step 1: The Basic Shape of the Trunk
- Step 2: Adding the Tree's Body Outline
- Step 3: Roughing in the Branches
- Step 4: Creating the Needle Clusters
- Step 5: Defining the Trunk Texture
- Step 6: Adding Shadows and Depth
- Step 7: Drawing the Ground and Roots
- Step 8: Little Details: Cones or Snow
- Step 9: Finishing Touches and Cleanup
- More Tips for Your Pine Tree Drawing
- Easier Ways to Sketch a Pine Tree
- Keeping Your Drawing Skills Sharp
- Questions People Often Ask About Pine Tree Drawing
- Your Next Steps in Drawing
Getting Started with Pine Tree Drawing
Many people look for ways to express themselves, and drawing is a really good one. When you learn how to draw a pine tree, you are not just making a picture; you are also connecting with nature in a quiet way. It is a chance to watch the shapes and textures of these wonderful trees, and then put those observations onto paper. You know, it is a pretty cool feeling.
Pine trees are found throughout the world, mainly in the northern temperate regions, so they are a common sight for many. They are, you know, a very important group of plants. These trees are called conifers because they have needles and cones, and they are typically evergreen, meaning they stay green all year long. This makes them a bit different to draw compared to trees that lose their leaves.
For instance, an Eastern White Pine is a very important tree in North America. There are, in fact, about 115 species of evergreen conifers in the pine genus. So, when you are doing a pine tree drawing, you are sketching a tree with a long history and many different forms. It is quite interesting, actually, how much variety there is.
Why Draw Pine Trees Anyway?
Drawing is a calming activity, and focusing on something like a pine tree can help you relax. It is, like, a way to be mindful and present. You get to really look at the small details, the way the branches spread out, or the texture of the bark. This kind of close looking is good for your brain, too, you know.
A pine tree drawing also lets you bring a bit of the outdoors inside. Maybe you want to remember a forest walk, or you just like the idea of having a bit of nature on your wall. It is, honestly, a simple way to make your space feel more personal and peaceful. Plus, it is a skill you can always build on.
You can also use your pine tree drawing in many ways. Perhaps you want to make a greeting card, or illustrate a story. Maybe you just want to practice your skills. There are, you know, free graphic resources for pine tree drawing vectors, stock photos, and PSD files out there. You can find high-quality images free for commercial use, which is pretty neat.
What Makes a Pine Tree Look Like a Pine Tree?
Before you even pick up your pencil for a pine tree drawing, it helps to know what makes a pine tree look like itself. Pine trees are, as a matter of fact, evergreen conifers. They have needles, not broad leaves, and they grow cones. These are key things to remember when you are sketching. You know, it really helps with the shape.
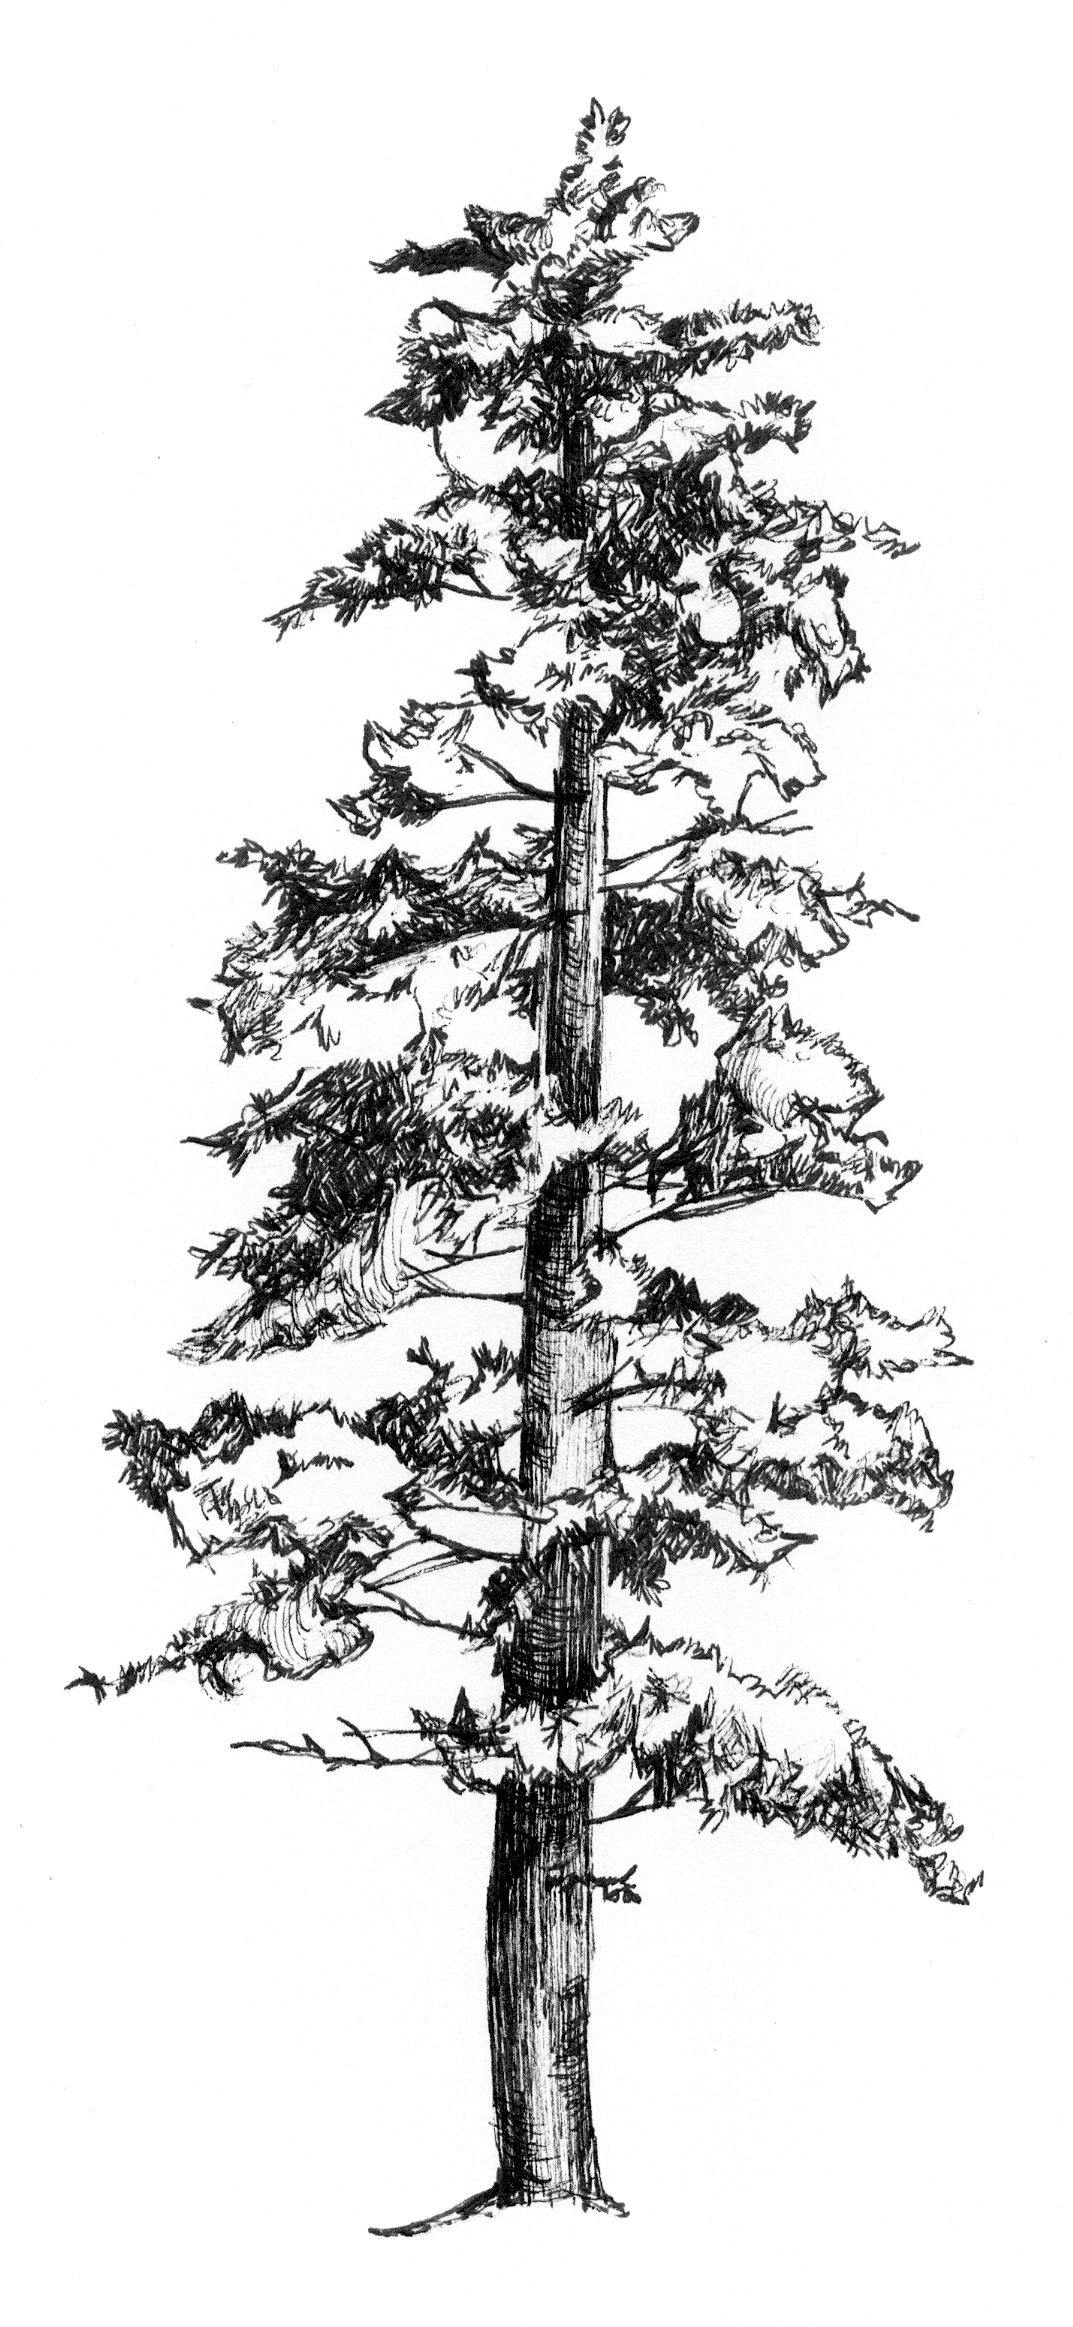
Pine trees come in many shapes and sizes. Some are tall and slender, almost like a column, while others are wide and bushy. They can be found in many places, from mountains to coastal areas. This diversity means your pine tree drawing can look quite different depending on the kind of pine you want to show, which is pretty cool.
The branches of a pine tree usually grow in layers, often wider at the bottom and getting narrower as they go up, forming a kind of cone shape. The needles themselves often grow in little bundles. Paying attention to these things will make your pine tree drawing feel more real, and that is what we are aiming for, isn't it?
Getting Ready to Draw: Your Simple Supplies
You do not need much to start your pine tree drawing. A pencil, an eraser, and some paper are really all you need. You might also want some colored pencils or crayons if you plan to add color. Some people like to use different types of pencils for darker or lighter lines, but a regular pencil works just fine, you know.
Make sure your pencil is sharpened. A good point helps with details. Your eraser is for fixing mistakes, but do not worry too much about them. Drawing is about practice, and mistakes are part of learning. It is, honestly, all part of the process, so just relax.
Having a comfortable place to draw is also a good idea. Make sure you have enough light. You can find outlines or print just for coloring if you want to practice the shapes first. There are, like, 55+ pine tree drawing images presented for free to download, print, or share online, so you have plenty of inspiration, which is really helpful.
Your 9-Step Guide to a Pine Tree Drawing
This tutorial shows an easy way to draw a pine tree. We will go through it step by step, and you will get some quick tips as we go. Remember, it is easier than you think to learn how to draw a pine tree when you follow this guide for kids. You can find many step-by-step guiding photos online, which is pretty useful.
Step 1: The Basic Shape of the Trunk
Start your pine tree drawing by drawing a simple, slightly curved line for the trunk. This line should be pretty light at first. Pine tree trunks are usually thicker at the bottom and get thinner as they go up, so make your line reflect that. It is, basically, the backbone of your tree.
Do not make the trunk perfectly straight; nature is rarely perfect. A slight curve gives your tree a more natural look. You are just putting down the main path for the tree to grow, so keep it loose. This is, you know, just the beginning.
Step 2: Adding the Tree's Body Outline
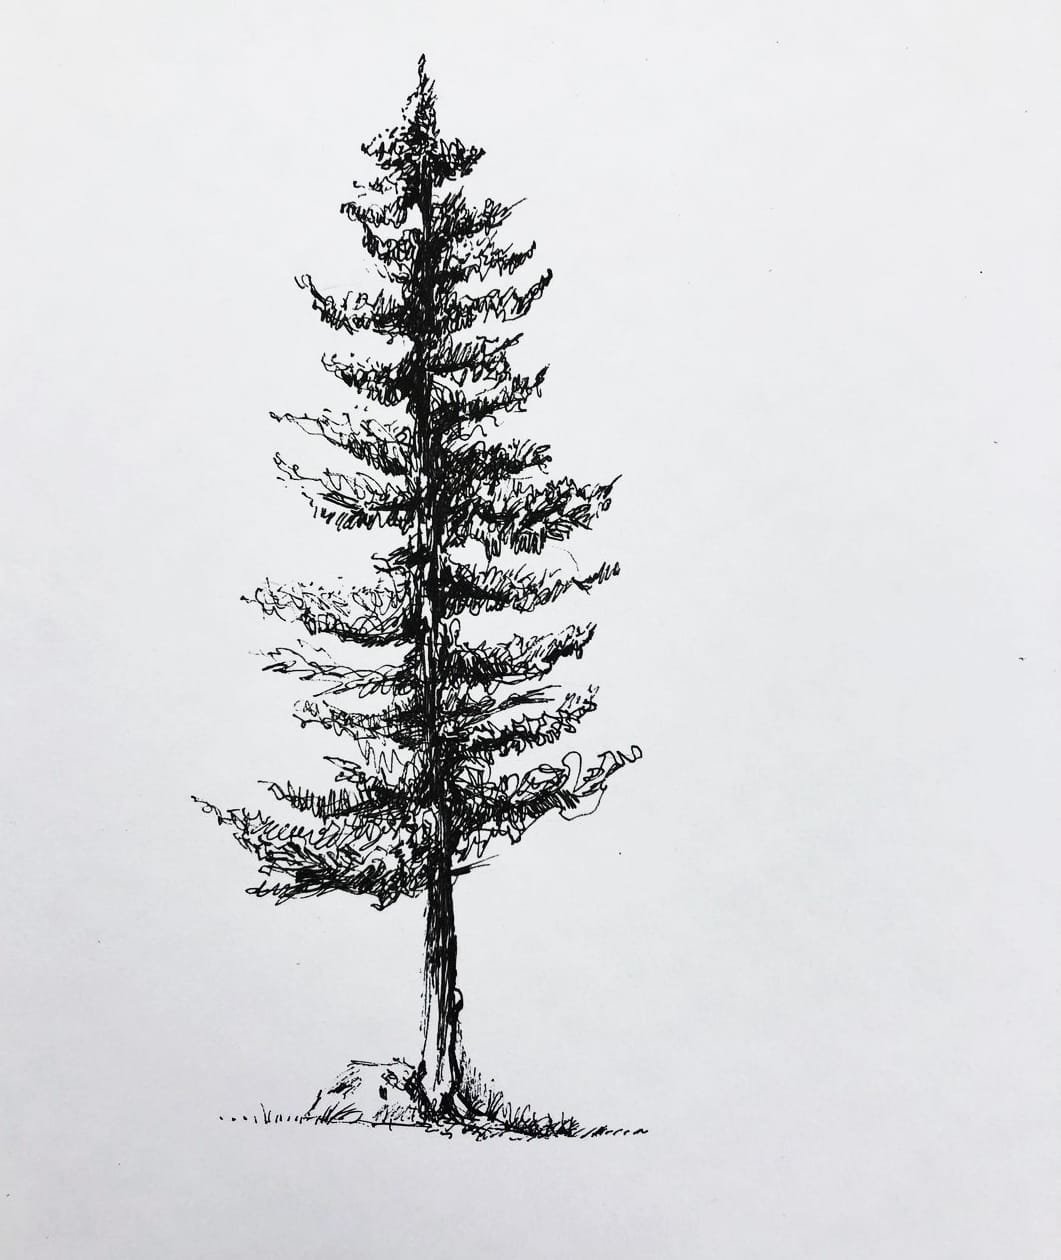
Next, draw a large, somewhat triangular or cone shape around your trunk line. This will be the general outline of your tree's leafy part. Pine trees often have a wide base that narrows towards the top. This is, like, the overall silhouette of your tree, so make it fairly broad at the bottom.
This outline does not need to be perfect or smooth. Think of it as a guide for where your needles and branches will go. It is, in a way, just a rough sketch to get the proportions right. You can, you know, adjust it later if you need to.
Step 3: Roughing in the Branches
Now, inside your cone shape, draw some simple lines for the main branches. These branches usually come out from the trunk in layers, and they often point slightly downwards as they get older, then curve up at the ends. They get shorter as you go up the tree, too, you know.
Do not draw too many branches at this stage. Just a few main ones will do. These are, essentially, the skeleton for your needle clusters. You want to make sure they are somewhat evenly spaced, but not perfectly so, which is pretty important for a natural look.
Step 4: Creating the Needle Clusters
This is where your pine tree drawing really starts to look like a pine tree. Instead of drawing individual needles, make small, irregular, cloud-like shapes around your branches. These shapes represent the clusters of needles. They should be denser towards the ends of the branches. This is, basically, how you get that fluffy, full look.
Vary the size and shape of these clusters. Some can be larger, some smaller. Let them overlap a bit. This creates a more organic, natural appearance. You are, in a way, building up the texture of the tree's foliage. It is, honestly, pretty fun to do.
Step 5: Defining the Trunk Texture
Go back to your trunk. Add some lines and texture to make it look like bark. Pine tree bark is often rough and scaly. You can use short, broken lines or small, irregular shapes to show this texture. Make the lines a bit darker now. You know, this adds a lot of character.
Remember that the trunk is usually darker on one side, depending on where your light source is. This adds depth. You are, in fact, giving the tree a bit more life with these details. It is, like, bringing it to a new level.
Step 6: Adding Shadows and Depth
To make your pine tree drawing pop, add some shadows. Think about where the sun is coming from. The side of the tree facing away from the light will be darker. You can shade the undersides of the needle clusters and the side of the trunk that is in shadow. This is, you know, how you make it look three-dimensional.
Use a lighter touch for areas that get more light. You can also add some deeper shadows where branches are close together or where the needles are very dense. This really helps to give your tree a sense of form, which is pretty important.
Step 7: Drawing the Ground and Roots
A tree needs to stand on something, right? Draw a simple line for the ground beneath your pine tree. You can add some small bumps or lines for roots that might be showing, especially if your tree is older. This grounds your pine tree drawing in its setting. It is, basically, giving it a place to be.
You do not need to draw every root. Just a few hints of them at the base of the trunk can make a big difference. This step, you know, really helps to make the tree feel like it is part of the scene, not just floating.
Step 8: Little Details: Cones or Snow
Now for some fun details! You can add small pine cones hanging from the branches. They are typically oval shapes with little scales. Or, if you are drawing a winter scene, you could add patches of snow on the branches. These small additions make your pine tree drawing unique. It is, honestly, where your creativity really shines.
Think about the season or the story you want your drawing to tell. These details, like your, can add a lot of personality to your tree. You can also add some small birds or other creatures if you like, which is pretty cool.
Step 9: Finishing Touches and Cleanup
Finally, take a step back and look at your pine tree drawing. Erase any extra lines from your initial outlines that you no longer need. You can also go over your main lines to make them a bit darker where needed. This cleans up your drawing. You know, it is like tidying up your space.
Add any final shading or highlights you think it needs. Maybe a few more individual needles peeking out from the clusters. You are, in a way, giving it that final polish. It is, basically, ready to be admired now.
More Tips for Your Pine Tree Drawing
To make your pine tree drawing even better, consider the light. Where is the sun coming from? This will affect where your shadows fall. A strong light source can make your tree look more dramatic. This is, you know, a pretty important aspect of drawing.
Do not be afraid to make your tree look a bit messy. Pine trees in nature are not perfect. Their branches might be uneven, or some needles might be sparse. This adds to the realism. It is, like, embracing the natural imperfections, which is pretty neat.
You can also try drawing different types of pine trees. There are many varieties, and each has its own unique shape and needle pattern. Exploring these differences can make your pine tree drawing practice more interesting. You can find information about identifying pine trees and explore 38 different types, which is a lot to learn about.
Easier Ways to Sketch a Pine Tree
If the nine steps feel like a lot, remember there are simpler ways to approach a pine tree drawing. Some tutorials show an easy way to draw a pine tree in just six steps. These often focus on the very basic cone shape and simple needle textures. It is, you know, a good starting point if you want something super quick.
You can also find easy pine tree drawings, sketches, and ideas online. Sometimes, just sketching the general shape with a few quick scribbles for needles is enough to give the idea of a pine tree. This is, basically, a great way to warm up your hand. You can, for example, just try a few quick ones.
For a really simple pine tree drawing, you could just draw a triangle for the body and a rectangle for the trunk. Then, add some squiggly lines on the triangle for the needles. This is, you know, a very basic approach that still works. It is, honestly, all about getting the general feel.
Keeping Your Drawing Skills Sharp
Like any skill, drawing gets better with practice. The more you do a pine tree drawing, the easier it will become. Do not worry about making perfect pictures right away. The goal is to enjoy the process and see yourself improve. It is, you know, a gradual thing.
Try drawing pine trees from different angles or in different settings. Maybe a single tree on a hill, or a whole forest. This helps you understand how light and shadow change the look of the tree. You can, you know, learn so much just by trying new things.
You can also find and download free graphic resources for pine tree drawing vectors, stock photos, and PSD files. These are free for commercial use and offer high-quality images. You can use these as references or even print them for coloring practice. This is, you know, a great way to get ideas and practice your lines. Learn more about drawing techniques on our site, and check out this page for more nature drawing ideas.
Questions People Often Ask About Pine Tree Drawing
Many people have questions when they start drawing. Here are a few common ones about pine tree drawing.
How do you draw a realistic pine tree?
To draw a realistic pine tree, pay close attention to its natural shape, which is often a cone or pyramid. Focus on creating irregular, clumpy textures for the needles instead of drawing individual ones. Make sure to add shadows and highlights to show depth and form, considering where the light is coming from. It is, you know, about making it look like it belongs in the real world.
What is the easiest way to draw a tree for beginners?
The easiest way to draw a tree for beginners, especially a pine
Pine Tree Sketch at PaintingValley.com | Explore collection of Pine
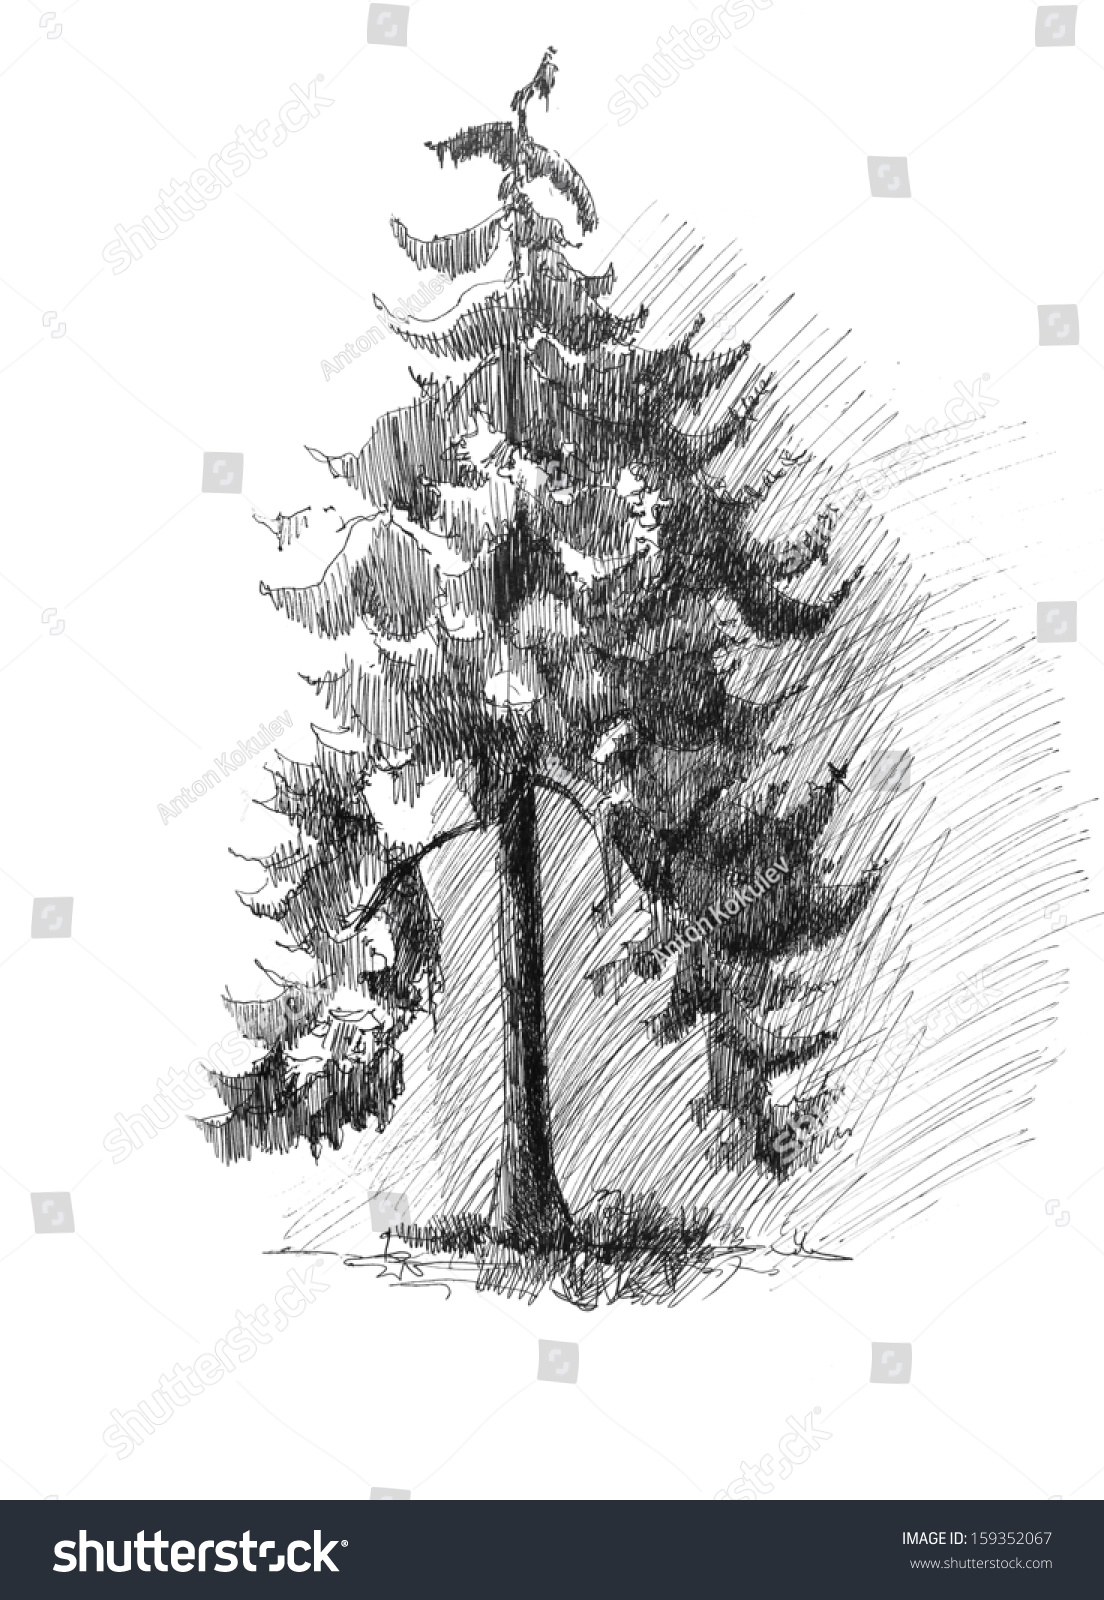
Pine Tree Sketch Drawing Isolated Stock Photo 159352067 : Shutterstock
Pine Tree Pencil Drawing
