Sparkling Spaces: How To Clean Tiles With Baking Soda And Vinegar For A Fresh Home
Are you, like many people, looking for ways to make your home feel truly fresh and bright? Perhaps you've noticed your tile floors or bathroom walls have lost some of their sparkle, showing grime or dullness. It's frustrating, isn't it, when surfaces don't quite look as tidy as you'd like, and you want them to be free from dirt or pollution, as the meaning of clean suggests. This feeling of wanting a genuinely clean space is quite common, and it’s a good one to address for a comfortable home, you know?
So, if you’re tired of harsh chemicals and the strong smells they bring, there’s actually a wonderfully simple and very effective solution right in your pantry. Using everyday items like baking soda and vinegar can truly transform your tiles, making them look remarkably neat and inviting. This method is not only gentle on your home but also on your wallet, which is pretty nice.
This article will walk you through the simple steps to achieve gleaming tiles using these two household heroes. We'll talk about why this combination works so well, what you'll need, and how to get those surfaces looking their best. You'll learn how to clean tiles with baking soda and vinegar, making sure your spaces are spotless and pleasant, leaving no detail unattended, as a truly clean room should be.
Table of Contents
- Understanding the Power of Natural Cleaners
- Why Choose This Simple Method?
- What You'll Need for Sparkling Tiles
- Your Step-by-Step Guide to Clean Tiles with Baking Soda and Vinegar
- Tackling Different Tile Types
- Making Grout Gleam Again
- Common Questions About Tile Cleaning
- Maintaining Your Sparkling Tiles
- A Final Thought on Clean Spaces
Understanding the Power of Natural Cleaners
When we talk about how to clean tiles with baking soda and vinegar, it’s helpful to know what each ingredient actually does. The meaning of clean, as you know, is to be free from dirt or pollution, suggesting a state of hygiene and neatness. These two items, baking soda and vinegar, work together in a pretty smart way to get things tidy, removing dirt from something, you see.
Baking Soda: The Gentle Scrubber
Baking soda, which is chemically known as sodium bicarbonate, is a mild abrasive. This means it has tiny, soft particles that can gently scrub away grime without scratching surfaces. It's also really good at absorbing odors, which is a bonus for areas like bathrooms or kitchens. So, it helps lift away dirt and makes things smell fresh, too it's almost a two-in-one solution.
Vinegar: The Acidic Ally
White distilled vinegar is an acid, typically acetic acid. This acidic nature helps it cut through grease, soap scum, and hard water stains. When it mixes with baking soda, you get a fizzy reaction that actually helps loosen up stubborn dirt. It’s quite powerful, yet very simple, in some respects, for getting things truly clean.
Why Choose This Simple Method?
Choosing to clean your tiles with baking soda and vinegar offers a lot of good reasons. For one, it’s generally safer for your family and pets because you're not bringing harsh chemicals into your home. This is a big plus for many people these days, as a matter of fact.
Also, it's very budget-friendly. Baking soda and vinegar are quite inexpensive and easy to find, so you won't be spending a lot of money on specialized cleaning products. Plus, these ingredients are readily available, making it a convenient choice for regular upkeep. It’s a smart way to keep your home tidy without breaking the bank, you know?
And let's not forget, this method is pretty effective. It really does help to make surfaces free from dirt and unwanted marks. Hospitals, for instance, need to be kept spotlessly clean, and while this isn't a hospital, the principle of thorough cleaning applies to our homes too. This natural approach helps you achieve that feeling of a truly clean space.
What You'll Need for Sparkling Tiles
Gathering your supplies before you start makes the cleaning process much smoother. You probably have most of these items around your home already, which is quite convenient. Here’s a quick list of what you’ll want to have on hand:
- Baking soda
- White distilled vinegar
- Warm water
- A spray bottle
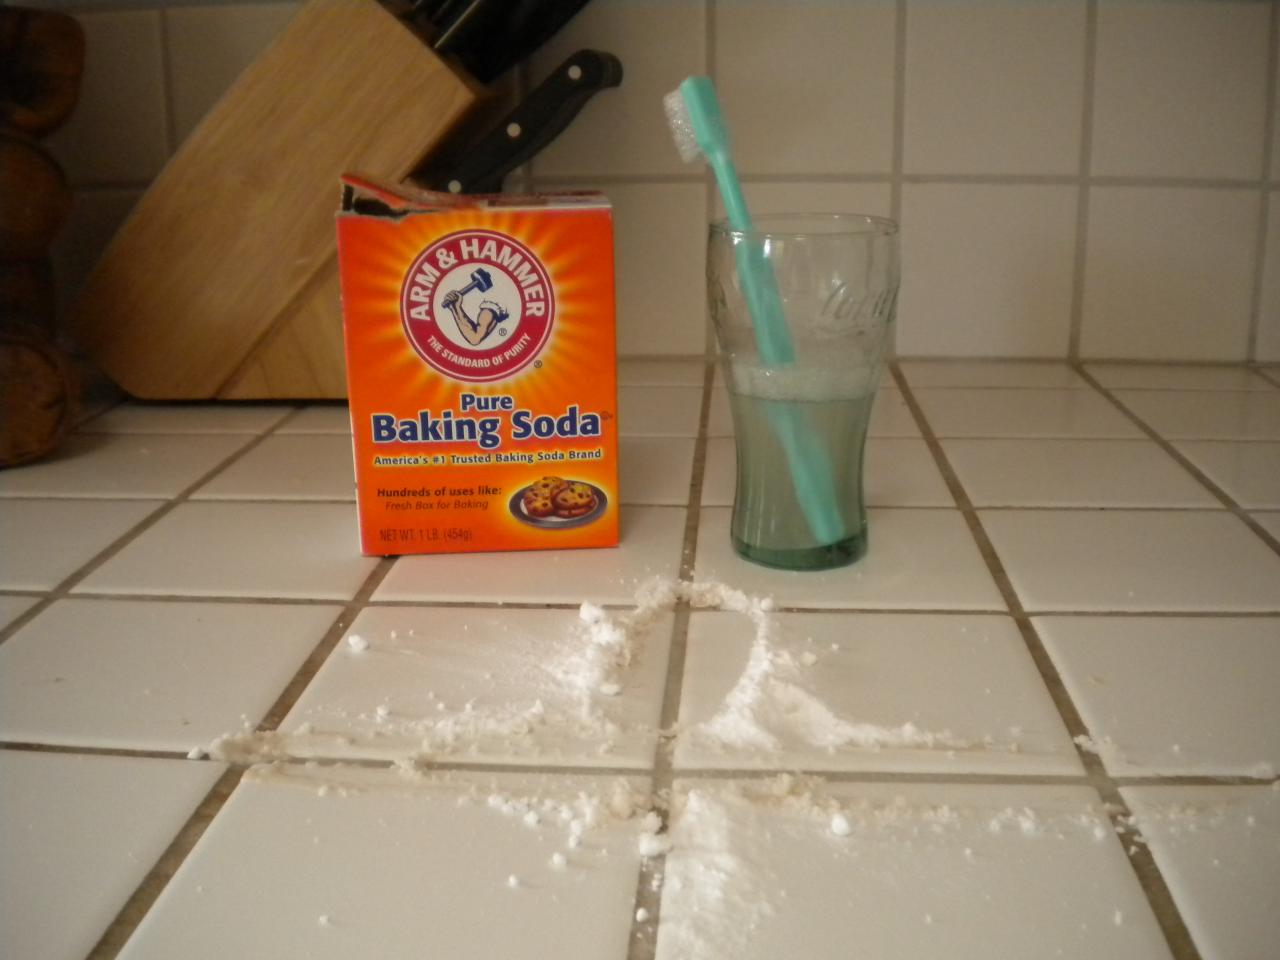
- A stiff-bristled brush (an old toothbrush works great for grout!)
- A few clean cloths or sponges
- A bucket
- Rubber gloves (optional, but good for protecting your hands)
Having everything ready means you can just get right to it, making the job a little less of a chore, really.
Your Step-by-Step Guide to Clean Tiles with Baking Soda and Vinegar
Now, let's get into the actual process of how to clean tiles with baking soda and vinegar. It’s a straightforward approach that yields great results. Just follow these steps, and your tiles will be looking much better, pretty soon.
Step 1: Prepare the Area
Before you start with any wet cleaning, you'll want to remove any loose dirt or debris from your tiles. Use a broom or a vacuum cleaner to sweep the area thoroughly. This prevents you from just spreading around dirt once you introduce liquids. It’s a simple first step, but a very important one, actually, for a good outcome.
Step 2: Create the Baking Soda Paste
In a small bowl, mix about half a cup of baking soda with just enough warm water to form a thick paste. You want it to be spreadable but not too runny. The consistency should be like toothpaste, perhaps a little thicker. This paste is what will really get to work on the grime, so make sure it's just right, you know?
Step 3: Apply the Paste to Your Tiles
Now, spread a generous layer of the baking soda paste over your dirty tiles and especially into the grout lines. You can use your fingers (with gloves, if you like), a spoon, or a small spatula. Make sure to cover the areas that need the most attention. This step is where the gentle abrasive action really begins, so don't be shy with the paste, really.
Step 4: Spray with Vinegar
Fill your spray bottle with undiluted white distilled vinegar. Once your baking soda paste is applied, lightly spray the vinegar directly onto the paste. You'll immediately see a fizzing reaction. This is the two ingredients working together to lift and loosen the dirt. It's quite satisfying to watch, actually, this little chemical dance.
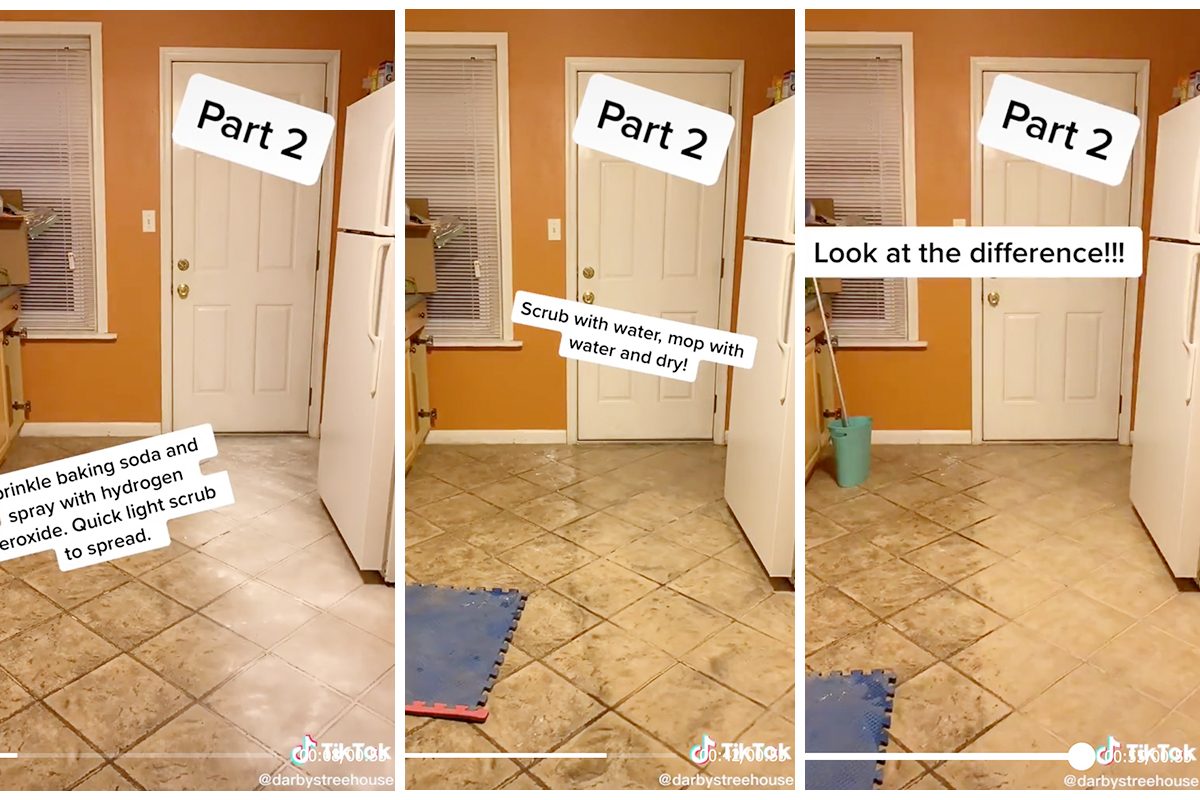
Step 5: Let the Magic Happen
Allow the baking soda and vinegar mixture to sit on the tiles for about 5 to 10 minutes. For particularly stubborn stains or very dirty grout, you might let it sit for up to 15 minutes. This gives the fizzing action time to break down the grime effectively. Patience here really pays off, you know?
Step 6: Scrub Away the Grime
Using your stiff-bristled brush, start scrubbing the tiles and grout lines. You’ll notice the dirt coming up quite easily. For those really tough spots, apply a little more elbow grease. An old toothbrush is perfect for getting into the narrow grout lines and corners. This is where you really see the transformation begin, more or less.
Step 7: Rinse and Reveal
After scrubbing, it's time to rinse away the loosened dirt and cleaning solution. Fill your bucket with clean, warm water and use a clean cloth or sponge to wipe down the tiles thoroughly. Rinse your cloth often in the bucket, changing the water as it gets dirty. You want to make sure all the residue is gone, leaving a genuinely clean surface, you see.
Step 8: Dry for a Streak-Free Shine
To prevent water spots and ensure a sparkling finish, dry your tiles with a clean, dry cloth or a microfiber mop. This step is important for that truly polished look. When something cleans easily, it is easy to clean, and these tiles will be, once they are dry. Your tiles should now be shining and free from any unwanted marks, appearing very clean and neat, just as you wanted them to be.
Tackling Different Tile Types
While the baking soda and vinegar method is great, it's good to know how it works with different kinds of tiles. Most common household tiles respond very well to this treatment, but some need a little extra thought, naturally.
Ceramic and Porcelain Tiles
These are the most common types of tiles found in homes, and they hold up beautifully to baking soda and vinegar. Their non-porous surfaces mean they won't absorb the liquids, making them ideal for this cleaning approach. You can use this method with confidence on these surfaces, as they typically clean very well.
Natural Stone Tiles: A Word of Caution
For natural stone tiles like marble, granite, travertine, or slate, you need to be a bit more careful. Vinegar is acidic, and over time, it can etch or dull the surface of these porous stones. While a very diluted vinegar solution might be okay for quick clean-ups, it's generally better to avoid it for regular cleaning on natural stone. For these surfaces, a mild, pH-neutral cleaner specifically designed for stone is usually a better choice. Just something to keep in mind, really.
Making Grout Gleam Again
Grout lines, those narrow spaces between your tiles, are often the dirtiest parts. They are porous and tend to trap grime, soap scum, and mildew, making the whole tiled area look dull. The baking soda and vinegar method is particularly effective for these spots, which is pretty handy.
When you apply the baking soda paste, really work it into the grout lines. Let it sit for the full 10-15 minutes, perhaps even a little longer if the grout is very discolored. Then, use a stiff brush or an old toothbrush to scrub vigorously along the lines. The fizzing action helps lift the embedded dirt, and the scrubbing removes it. You'll likely see a dramatic difference, which is quite satisfying. It's amazing how much brighter a room looks with clean grout, you know?
Common Questions About Tile Cleaning
People often have questions about using natural cleaners, especially when it comes to surfaces like tiles. Here are some common queries that come up, which is pretty useful to know.
Is baking soda and vinegar safe for all tiles?
For most common tile types like ceramic and porcelain, yes, this combination is generally very safe and effective. However, as mentioned earlier, natural stone tiles such as marble, granite, or travertine can be sensitive to the acidity of vinegar. For these surfaces, it’s best to stick to cleaners specifically made for stone, or use a very diluted vinegar solution for occasional spot cleaning. Always do a small patch test in an inconspicuous area first, just to be sure, you know?
How do you clean really dirty tile grout?
For grout that’s seen better days, the baking soda and vinegar method is excellent. You'll want to make a thicker baking soda paste and apply it directly onto the grout lines. Let it sit for at least 15 minutes, or even a bit longer for tough stains. Then, use a small, stiff brush, like an old toothbrush or a dedicated grout brush, to really scrub the grime away. The fizzing reaction helps to loosen deeply embedded dirt. Rinse thoroughly afterward to reveal much brighter grout. It truly makes a difference, actually.
What should you not use vinegar on when cleaning?
While vinegar is a versatile cleaner, there are a few surfaces where it's best to avoid it. As discussed, natural stone (like marble, granite, or travertine) should generally not be cleaned with vinegar due to its acidity, which can cause etching or dulling. Also, be careful with unsealed grout, as vinegar can sometimes weaken it over time. Other things to avoid using vinegar on include electronic screens, cast iron, and certain types of wood finishes, as it can cause damage or strip protective coatings. For more details on safe cleaning practices, you might want to check out resources on general cleaning tips. You can also learn more about natural home care on our site, and perhaps find other helpful ideas on this page .
Maintaining Your Sparkling Tiles
Once your tiles are sparkling clean, you'll want to keep them that way! Regular maintenance is key. For daily or weekly clean-ups, a simple sweep or vacuum followed by a quick mop with warm water and a tiny bit of mild dish soap can keep things looking fresh. This helps prevent dirt and grime from building up in the first place, which is pretty smart.
Consider doing a deeper clean with baking soda and vinegar every few weeks or once a month, depending on how much traffic the area gets. This proactive approach means you won't have to tackle really tough, built-up dirt as often. It makes the cleaning process much easier in the long run, actually, and helps your home feel consistently tidy.
A Final Thought on Clean Spaces
Cleaning your tiles with baking soda and vinegar is a wonderfully effective and straightforward way to keep your home looking its best. It's a natural approach that delivers impressive results, making your spaces feel truly clean and inviting. This method helps you make sure your hands are clean before you have your dinner, in a way, just like we make sure our homes are free from dirt.
So, why not give it a try? Gather your simple ingredients and experience the satisfaction of transforming your tiles. You'll likely be very pleased with how bright and neat your home feels afterward. It’s a small effort for a really big impact on your living environment, you know?
How To Clean Bathroom Tiles With Baking Soda And Vinegar – Semis Online
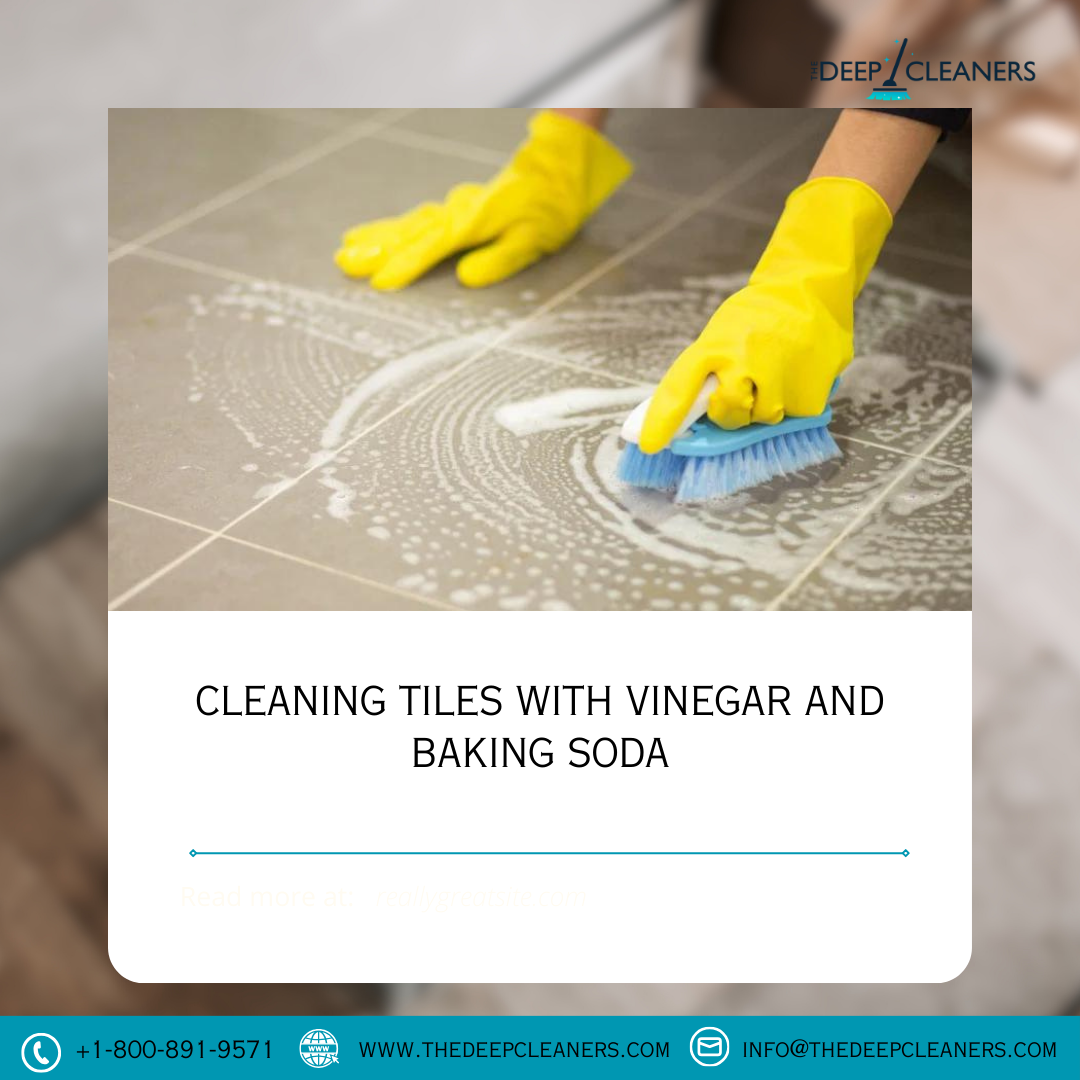
Cleaning Tiles with Vinegar and Baking Soda - The Deep Cleaners Home
How To Clean Bathroom Tiles Using Baking Soda – Semis Online
