Get Iot Ssh From Anywhere Free Download Mac: Your Guide To Remote IoT Access
Connecting to your devices, especially those spread out and doing their own thing, can sometimes feel like a puzzle. Imagine your smart home gadgets, industrial sensors, or even that little Raspberry Pi running a project in another room or far away. These are all part of the Internet of Things, or IoT, and being able to reach them securely, no matter where you are, is pretty useful. This guide will show you how to set up remote access to your IoT gadgets using SSH, right from your Mac, and yes, it won't cost you anything for the main tools.
The internet of things (IoT), as you might know, describes devices with sensors, processing ability, software, and other technologies that connect and exchange data with other devices and systems over the internet. It refers to a network of physical devices, vehicles, appliances, and other physical objects that are embedded with sensors, software, and network. These devices can transfer data to one another without human intervention, which is really quite something, isn't it?
So, when we talk about reaching these "things" from a distance, we're talking about remote access. SSH, which stands for Secure Shell, is a very common and safe way to do this. It lets you control a device remotely, as if you were sitting right in front of it. For Mac users looking for a free way to manage their IoT setup from anywhere, this is definitely a good path to explore, you know, for keeping things running smoothly.
Table of Contents
- What is IoT and Why Remote Access Matters
- Understanding SSH for IoT Devices
- Getting Started with SSH on Your Mac
- Reaching Your IoT Devices from Anywhere
- Troubleshooting Common SSH Issues
- Frequently Asked Questions about IoT SSH
What is IoT and Why Remote Access Matters
The internet of things (IoT) refers to a network of physical devices that can transfer data to one another without human intervention. The term was first coined by computer scientist Kevin. It stands for internet of things. It refers to the interconnectedness of physical devices, such as appliances and vehicles, that are embedded with software, sensors, and network. The internet of things, or IoT, is a network of interrelated devices that connect and exchange data with other IoT devices and the cloud. These devices are typically embedded with technology that helps them communicate, you know, without needing someone to constantly check on them.
The term IoT, or internet of things, refers to the collective network of connected devices and the technology that facilitates communication between devices and the cloud, as well as between devices themselves. The internet of things (IoT) refers to physical objects embedded with sensors that communicate with computers. The IoT enables the physical world to be digitally monitored or controlled. The internet of things (IoT) consists of the internet protocol (IP) and transmission control protocol (TCP), which together provide the standards and rules for devices to connect to. This really helps, you see, in making our environments smarter.
So, why would you want to reach these devices from a distance? Well, imagine you have a smart thermostat at home, or perhaps a security camera. You might be away on a trip, and you want to adjust the temperature or check on things. Or, what if you have a sensor in your garden that tells you when the plants need water, and you're at work? Remote access means you can interact with these "things" from anywhere with an internet connection. It's about convenience and control, isn't it? This capability is, frankly, a big part of what makes IoT so appealing.
Understanding SSH for IoT Devices
SSH, or Secure Shell, is a network protocol that gives you a secure way to operate network services over an unsecured network. It's often used for remote command-line access. Think of it like this: when you use SSH, you're creating a secure tunnel between your Mac and your IoT device. All the information that goes through this tunnel is encrypted, which means it's scrambled and very hard for anyone else to read. This is pretty important, you know, especially when dealing with your personal devices.
Many IoT devices, especially those built on platforms like Raspberry Pi or various Linux-based boards, come with SSH capability built right in. This makes them perfect candidates for remote management using this method. You can send commands to your device, transfer files, or even run programs, all from your Mac, no matter how far away you are. It's a very flexible way to manage your gadgets, and it's quite powerful, too it's almost like being there.
How SSH Keeps Things Safe
The "secure" part of Secure Shell is really the key feature here. When you connect using SSH, it first verifies the identity of both your Mac and the IoT device. This helps make sure you're connecting to the right device and not some imposter. After that, all communication is encrypted. This means that if someone were to try and listen in on your connection, all they would see is gibberish, which is rather good for your peace of mind, isn't it?
This encryption is done using strong cryptographic algorithms. It's a bit like having a secret code that only your Mac and your IoT device know. Every piece of information sent back and forth is encoded with this secret code, and then decoded on the other end. This makes SSH a much safer option than older, unsecured methods, like Telnet, which send information in plain text. So, you know, it’s a smart choice for keeping your IoT setup private and safe.
Getting Started with SSH on Your Mac
The good news for Mac users is that you already have a fantastic SSH client built right into your operating system. You don't need to download any extra software to get started with basic SSH connections. This makes the "free download mac" part of our topic very straightforward. It's typically ready to go, which is pretty convenient, as a matter of fact.
To begin, you'll need to know the IP address or hostname of your IoT device. If your device is on the same local network as your Mac, finding this is usually quite simple. Most IoT devices have a way to show their network information, perhaps through an app, a display, or by checking your router's connected devices list. This step is pretty important, you know, for making that first connection.
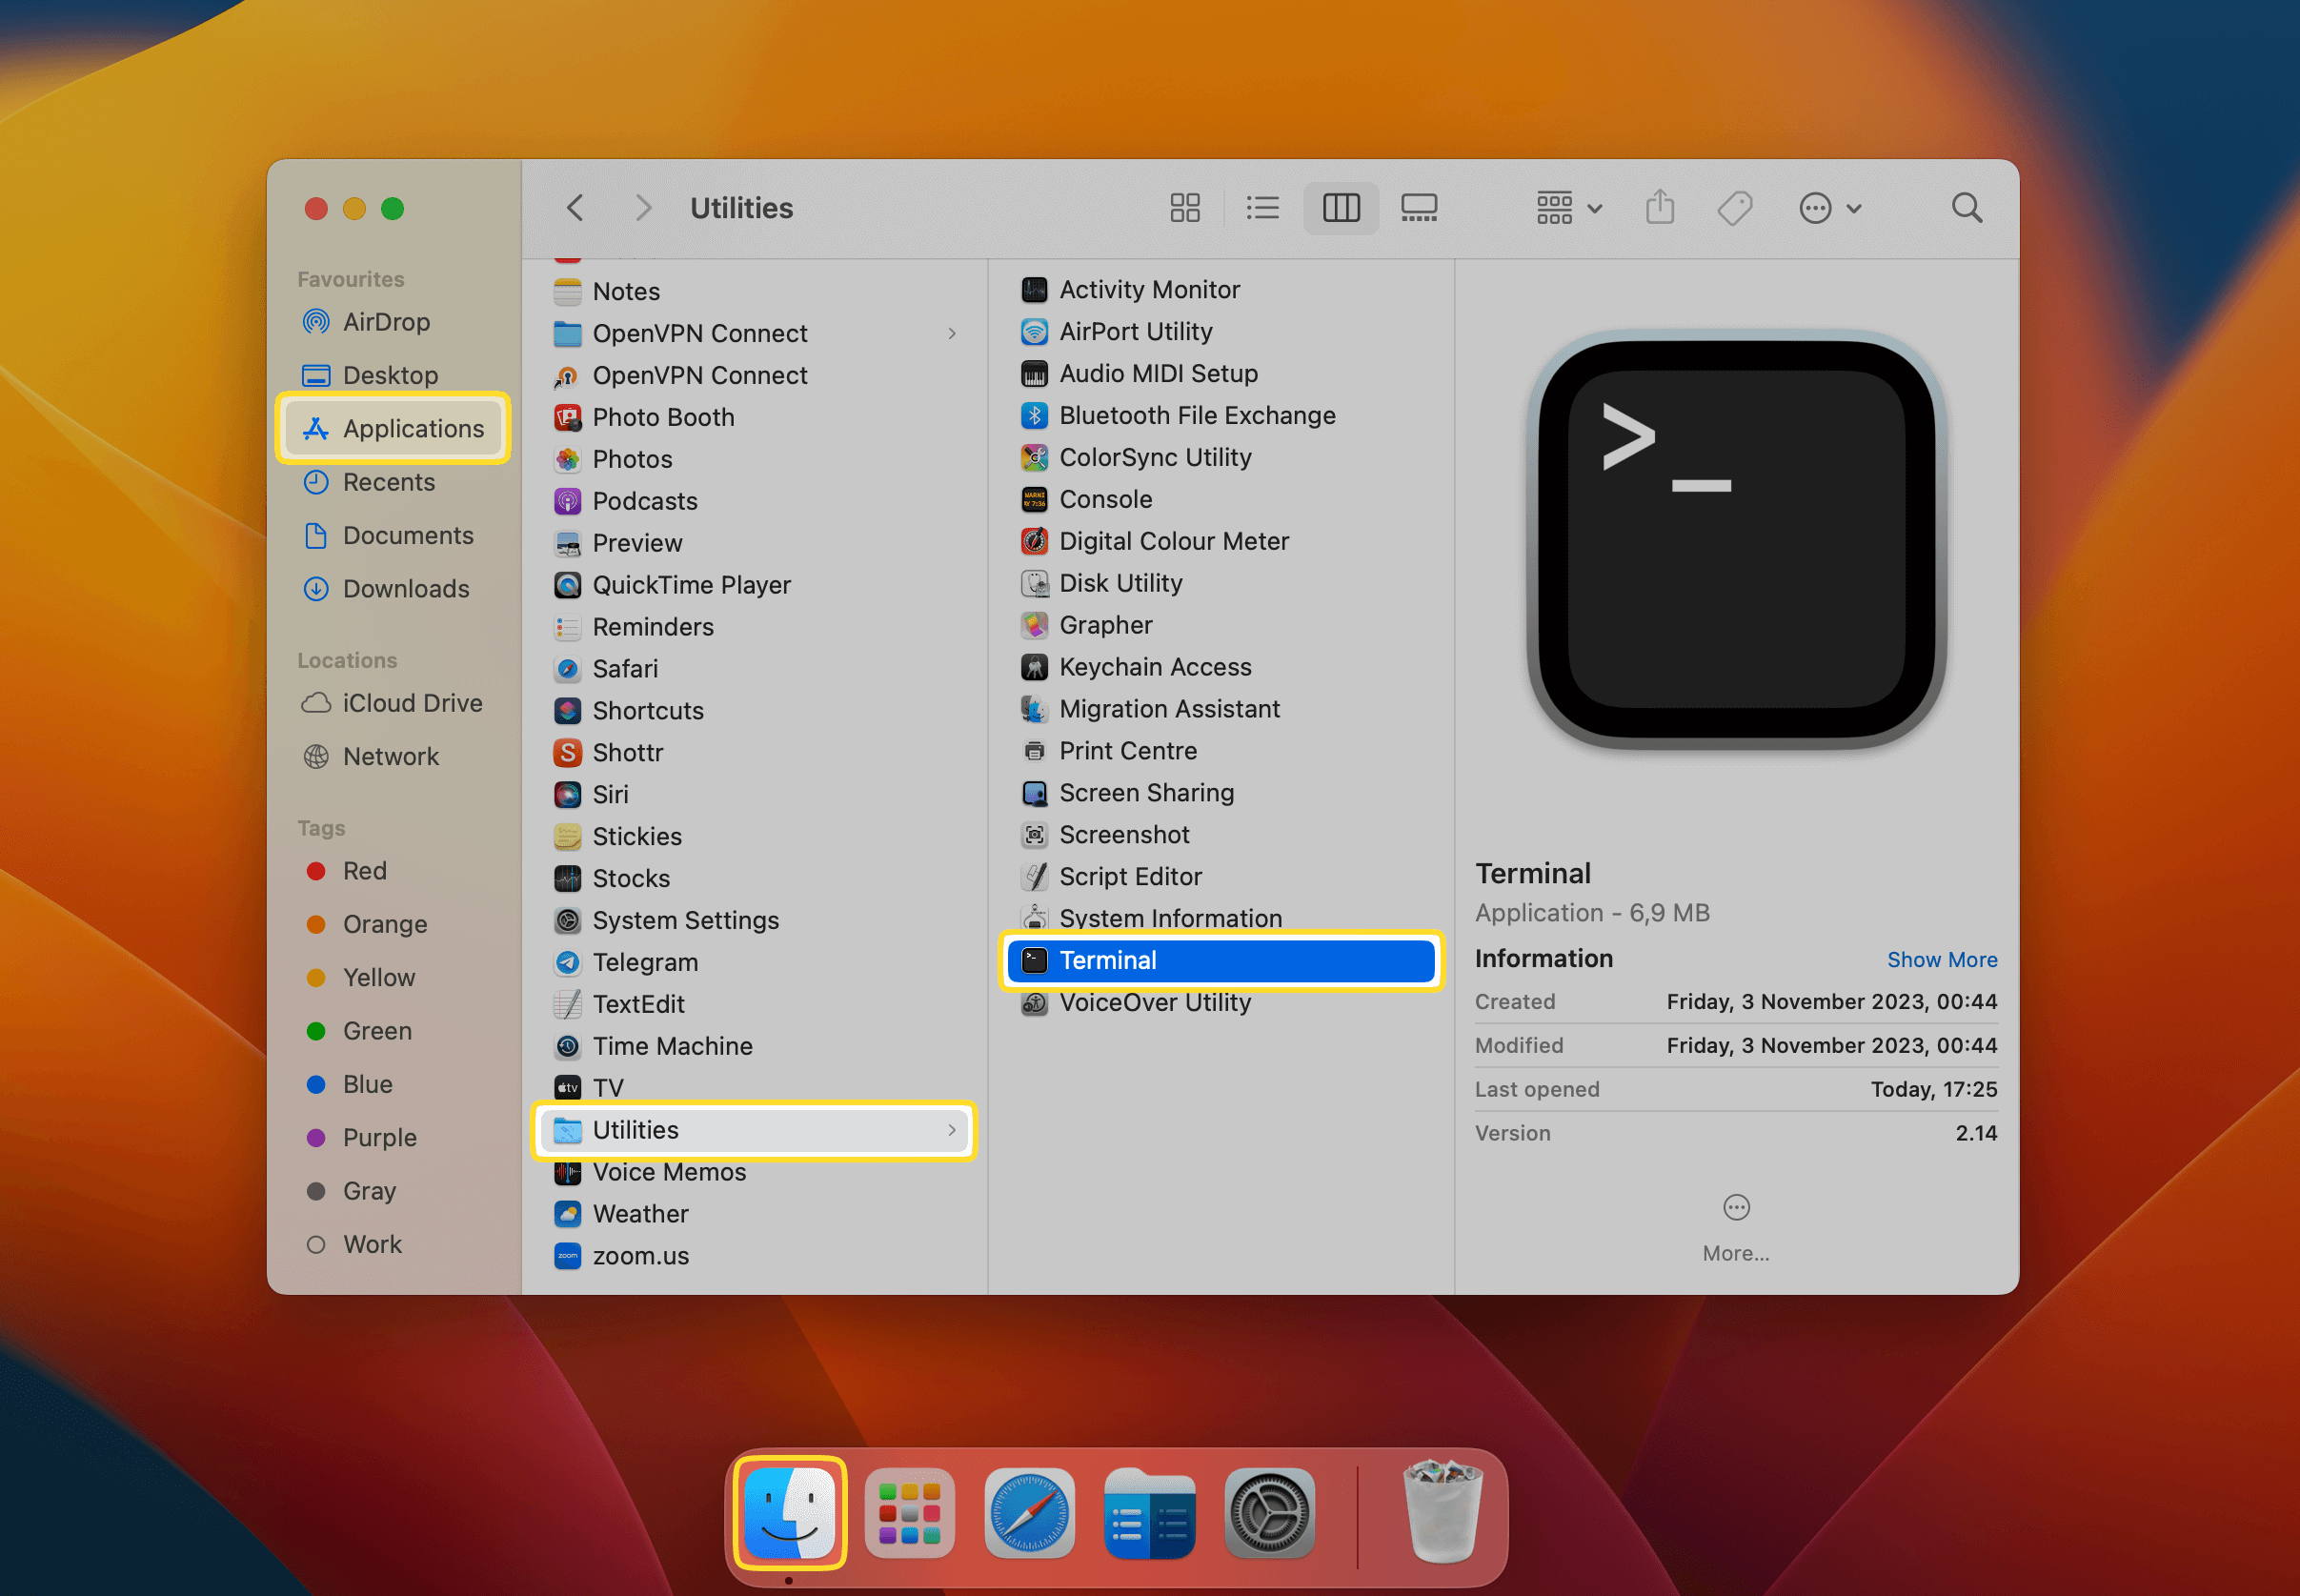
The Built-in Terminal: Your Free Tool
Your Mac comes with an application called "Terminal." This is where you'll type your SSH commands. To find it, you can open "Finder," go to "Applications," then "Utilities," and you'll see "Terminal" there. Or, even quicker, just press Command + Spacebar to open Spotlight Search, type "Terminal," and hit Enter. It's really quite easy to find, which is good.
Once Terminal is open, you'll see a window with a blinking cursor. This is your command line interface. It might look a bit intimidating at first, but it's very powerful and, frankly, quite simple to use for SSH. This is your primary tool for connecting to your IoT devices, and it costs nothing, which is, you know, a big plus.
Connecting to a Local IoT Device
Let's say your IoT device has an IP address of `192.168.1.100` and its username is `pi` (a common default for Raspberry Pi). To connect, you would type the following command into your Terminal and press Enter:
ssh pi@192.168.1.100The first time you connect to a new device, your Mac might ask you to confirm the connection by typing "yes." This is a security measure to verify the device's identity. After that, it will ask for the password for the `pi` user on your IoT device. Type it in (you won't see the characters appear as you type, which is normal for security), and press Enter. If everything is correct, you'll be logged into your IoT device, and you'll see its command prompt. It's a straightforward process, typically, and quite satisfying when it works.
From here, you can issue commands directly to your IoT device. For example, you might type `ls` to list files, or `sudo apt update` to update its software. When you're done, you can simply type `exit` and press Enter to close the SSH connection. This basic setup is, in a way, the foundation for all remote access, and it's completely free on your Mac.
Reaching Your IoT Devices from Anywhere
Connecting to an IoT device on your home network is one thing, but what if you're away from home, perhaps at a coffee shop or a friend's house? This is where the "from anywhere" part of `iot ssh from anywhere free download mac` comes in. There are a few ways to achieve this, each with its own considerations. You know, it's about finding the method that works best for your setup.
The main challenge is that your home network, where your IoT devices live, usually sits behind a router that uses a private IP address. The internet sees your router's public IP address, not the individual devices inside your home. So, we need a way to tell your router to direct incoming SSH requests to the correct IoT device. This can be a bit tricky, but it's certainly doable, and there are free ways to approach it.
Port Forwarding: A Common Method
Port forwarding is a widely used technique. It involves configuring your home router to send specific incoming network traffic (like SSH requests) to a particular device on your local network. For example, you might tell your router: "Any SSH connection coming in on port 22 (the standard SSH port) should go to the IoT device at `192.168.1.100`." This is, you know, like giving a specific address within your home to a delivery person.
To set this up, you'll need to log into your router's administration interface. You usually do this by typing your router's IP address (often `192.168.1.1` or `192.168.0.1`) into a web browser. Look for sections like "Port Forwarding," "NAT," or "Virtual Servers." You'll then create a rule that forwards an external port (e.g., 22 or a different, less common port for added security) to the internal IP address of your IoT device and its SSH port (usually 22). This can be a little different for each router model, so you might need to check your router's manual or search online for instructions specific to your model. It's a rather common thing people do, actually, for remote access.
A word of caution: when you open a port on your router, you are essentially creating a direct path to your device from the internet. This increases the exposure of your device to potential unwanted access. It's very important to use strong, unique passwords for your IoT devices and, if possible, set up SSH key-based authentication instead of just passwords. This makes it much more secure, you know, for keeping your system safe.
VPN for a Private Network
Another way to access your IoT devices from anywhere is by setting up a Virtual Private Network (VPN) server on your home network. A VPN creates a secure, encrypted connection between your Mac and your home network, making it seem like your Mac is physically present on your home network, even when it's not. Once connected to your home VPN, you can then SSH into your IoT devices using their local IP addresses, just as if you were at home. This is, in some respects, a very secure way to do things.
Setting up a VPN server can be a bit more involved than port forwarding. Some advanced routers have built-in VPN server capabilities. Alternatively, you can set up a dedicated VPN server on a device like a Raspberry Pi that's always on your home network. Popular free and open-source VPN software options include OpenVPN or WireGuard. This method offers a higher level of security because it doesn't expose individual device ports to the internet. You're creating a secure tunnel for your entire remote session, which is quite robust, actually.
While setting up a VPN server requires a bit more technical know-how, the security benefits are considerable. Once your Mac is connected to your home VPN, all your internet traffic from your Mac can be routed through your home network, which can also provide privacy benefits when you're using public Wi-Fi. It's a very comprehensive solution for remote access, and the software itself is often free, which is good.
Cloud-Based Solutions and Their Free Tiers
For those who prefer not to deal with router configurations or setting up their own VPN server, there are cloud-based services that can help you access your IoT devices remotely. These services typically involve installing a small client application on your IoT device. This client then connects to the cloud service, creating an outbound connection, which bypasses the need for port forwarding. Your Mac then connects to the cloud service, which acts as a relay to your IoT device. This is, you know, often much simpler to set up.
Many of these cloud services offer free tiers or limited free plans that are perfectly suitable for personal use or managing a small number of IoT devices. Examples include services like Remote.It, Dataplicity (specifically for Raspberry Pi), or various IoT platforms from major cloud providers (like AWS IoT, Google Cloud IoT Core, Azure IoT Hub) that might have free usage limits. While the core service might be free for basic use, some advanced features or higher data usage might incur costs. It's worth checking their specific terms, but many offer a good starting point for free, which is pretty neat.
These services handle the complexities of network traversal for you, making remote access much simpler. They often come with web interfaces or dedicated client applications for your Mac, making the experience more user-friendly than command-line SSH. For instance, you might just click a button in a web portal to open an SSH session to your device. This can be a very convenient option, especially if you're just starting out with remote IoT management, and it typically offers a free way to get going.
Troubleshooting Common SSH Issues
Sometimes, things don't go perfectly on the first try, and that's completely normal. If you're having trouble connecting to your IoT device via SSH, there are a few common things to check. First, always double-check the IP address or hostname of your IoT device. A single wrong number or letter can prevent a connection. This is, like, the most basic step, but it's often overlooked.
Next, make sure your IoT device is actually powered on and connected to the network. Can you ping it from your Mac? Open Terminal and type `ping 192.168.1.100` (replacing with your device's IP). If you don't get replies, your device might be offline or have network issues. Also, ensure the SSH server is running on your IoT device. For many Linux-based IoT devices, the SSH server (often called `sshd`) needs to be enabled. You might need to connect a keyboard and monitor to the device initially to enable it if it's not on by default. This is pretty important, you know, for getting that connection.
If you're trying to connect from anywhere and using port forwarding, verify that your router's port forwarding rules are set up correctly. Is the external port pointing to the correct internal IP address and port of your IoT device? Also, make sure your internet service provider isn't blocking the port you're trying to use (though this is less common for standard SSH ports). Sometimes, firewalls on either your Mac or the IoT device can block SSH connections, so check those settings too. You know, sometimes it's just a small setting that makes all the difference.
Finally, remember to use the correct username and password. Passwords are case-sensitive, and typing mistakes are easy to make. If you're using SSH keys, ensure your public key is correctly installed on the IoT device and your private key is accessible on your Mac. You can learn more about SSH key management on our site, and link to this page for secure IoT connection tips. For more general cybersecurity advice, you might want to check out resources from a reputable cybersecurity organization. These checks typically resolve most connection problems, which is quite helpful, really.
Frequently Asked Questions about IoT SSH
Here are some common questions people often ask about using SSH for their IoT devices:
Is SSH secure enough for my IoT devices?
Yes, SSH is considered a very secure protocol when used correctly. It uses strong encryption to protect your data and authenticates both ends of the connection. However, its security depends heavily on how you use it. Always use strong, unique passwords for your IoT devices, and ideally, switch to SSH key-based authentication. Also, avoid using the default port 22 for external access if you're using port forwarding, as this can reduce automated attack attempts. You know, a little extra care goes a long way.
Do I need a static IP address to SSH into my IoT device from anywhere?
No, you don't necessarily need a static IP address, although it can make things simpler. Your home internet connection usually has a dynamic IP address, meaning it changes occasionally. If your IP address changes, your remote SSH connection won't work until you know the new IP. A common free solution for this is to use a Dynamic DNS (DDNS) service. This service assigns a hostname (like `myhomedevice.ddns.net`) to your dynamic IP address, and it automatically updates when your IP changes. So, you know, you can always use the same hostname to connect, which is pretty convenient.
Can I use SSH to access my IoT device's graphical interface?
SSH is primarily a command-line tool, meaning it gives you a text-based interface. However, you can use SSH to tunnel graphical applications (this is called X11 forwarding) or to set up a VNC (Virtual Network Computing) connection. With X11 forwarding, you can run a graphical application on your IoT device, and its window will appear on your Mac's desktop. With VNC, you can see and control the entire graphical desktop of your IoT device. Both require additional setup on your IoT device and Mac, but they do let you get a visual interface, which is quite useful sometimes, actually.

Free Remote IoT Monitoring SSH Download On Mac: A Guide
Download SSH IoT Anywhere For Mac: The Ultimate Guide
SSH on Mac: How to Use it to Connect to a Remote Server
