Starting Your Stretch: What Size Gauge To Begin Ear Stretching?
Thinking about stretching your ears can feel like a really exciting step, a new way to express yourself, and that's totally wonderful. It's a personal journey, for sure, and one that many people find quite rewarding. But, like any new adventure, it comes with its own set of questions, and maybe a few worries too. You might be wondering about the best way to get going, or perhaps how to keep your ears feeling good through it all. This article, based on the general request found in My text, aims to help with those very first steps.
One of the very first things people ask, and it's a very important one, is what size gauge to start stretching ears. This question pops up a lot, and for good reason. Getting this part right can make all the difference in how comfortable and successful your stretching experience turns out to be. It's not just about picking any size; it's about choosing the right size for your body, a size that respects your ear's natural state.
You know, when we talk about "size," it can mean so many different things. Like, in My text, we see discussions about `size()` for lists, `.length` for arrays, or even how to figure out database sizes in terms of bytes. But here, we're talking about a very personal kind of size, one that matters a whole lot for your ears. It's about a gradual, gentle change, making sure each step is kind to your body. So, let's explore this initial measurement together, and get you off to a good start.
Table of Contents
- Getting Started with Ear Stretching
- Picking Your First Gauge Size
- The Stretching Process: A Gentle Approach
- Common Mistakes to Avoid
- Frequently Asked Questions
- Final Thoughts on Safe Stretching
Getting Started with Ear Stretching
Starting to stretch your ears is a process that asks for a good bit of thought and a lot of patience. It is not something you want to rush, honestly. Many people get excited and want to see quick progress, but with ear stretching, slow and steady truly wins the race. Your ears are delicate, and they need time to adjust to any changes you introduce. So, thinking about the long game here is pretty smart, you know?
The very idea of changing your body in this way can feel a little big, and that's perfectly natural. It's about making choices that support your well-being while also helping you achieve the look you want. Every step, from choosing your first size to taking care of your ears, contributes to a good experience. It's a bit like learning any new skill; you start with the basics, and you build from there, step by gentle step.
Why Starting Small Matters
When it comes to what size gauge to start stretching ears, beginning with a very small size is probably the most important piece of advice you will hear. This isn't just a suggestion; it's a way to keep your ears healthy and happy. Trying to go too big too soon can cause a lot of problems, like tears or blowouts, which are not fun at all. Your earlobe tissue needs time to expand and adapt, and a small start gives it that necessary time.
Think of it like this: you wouldn't try to lift the heaviest weight at the gym on your first day, would you? Your muscles need to warm up and get stronger gradually. Your earlobes are similar. They need to slowly get used to the idea of holding a larger piece of jewelry. A tiny stretch, a truly small one, allows the blood vessels and tissue to stretch without breaking. This helps keep the tissue healthy and elastic for future stretches, too it's almost a guarantee for better results.
A gentle start also helps prevent scarring. When you stretch too quickly, the tissue can scar, making it harder to stretch further down the line. These scars can also make the earlobe look less smooth or even uneven. So, starting small protects the look and feel of your ears. It's about being kind to your body, giving it the chance to respond positively to the changes you're making. This approach truly supports the long-term health of your earlobes.
Understanding Gauge Sizes
Before we talk about what size gauge to start stretching ears, it helps to understand what "gauge" actually means. Gauge is a measurement system, and it's a bit different from what you might be used to with rulers or measuring tapes. In the world of body jewelry, the smaller the gauge number, the larger the actual size of the jewelry. This can feel a little backward at first, but you'll get used to it, honestly.
For example, a 20-gauge piece of jewelry is much thinner than a 10-gauge piece. A 00-gauge, or "double ought" gauge, is even larger than a 0-gauge. Once you get past 00g, sizes are usually measured in millimeters (mm). So, you might see sizes like 10mm, 12mm, and so on. Knowing this system is pretty important for picking the right starting size and for making your way up through the sizes later.
Most standard ear piercings, the ones you get at a piercing shop, are done at either 18 gauge (18g) or 16 gauge (16g). These are fairly small holes. When you start stretching, you'll be working with sizes that are a bit bigger than these initial piercing sizes, but still very, very small in the grand scheme of things. It's all about tiny, tiny increments, you know, to ensure your ears are comfortable with each step.
Picking Your First Gauge Size
Now, for the main event: what size gauge to start stretching ears. This is where a lot of people feel a bit stuck, but it doesn't have to be complicated. The general advice, and a very good one, is to start with the smallest possible jump from your current ear piercing size. This means if your ears are pierced at 18g or 16g, you'll want to go for a size just a tiny bit bigger.
Many people find that starting with a 14 gauge (14g) is a good first step. This is often the smallest size used for initial stretching. A 14g is slightly larger than a standard 16g piercing, but the difference is minimal. It's enough to begin the stretching process without putting too much stress on your earlobe. This slight increase allows your ear to adjust gently, which is exactly what you want.
Some people, especially if their ears were pierced with a very small needle or if they've had their piercings for a long time without wearing jewelry, might even consider starting with an 18 gauge if their current piercing is smaller, or even just wearing heavier jewelry in their current piercing for a while to let it naturally loosen a tiny bit. The key is to make that first step feel easy and comfortable, without any forcing or pain, actually.
The Smallest Common Starting Point
So, to be very clear about what size gauge to start stretching ears, the 14 gauge (14g) is widely considered the smallest common starting point for most people. It's a manageable size that allows for a gentle introduction to the stretching process. This size is usually small enough that your earlobe can accept it without much fuss, assuming your initial piercing is well-healed and healthy.
Before you even think about putting a 14g taper or plug in, make sure your earlobe piercing is fully healed. This means no tenderness, no redness, and no discharge. A fresh piercing is not ready for stretching, not at all. You typically need to wait several months, or even a year, after a standard piercing heals before you even consider starting to stretch it. Patience here is truly a virtue, you know.
When you do get your 14g jewelry, make sure it's made of a body-safe material. Glass, surgical stainless steel, or titanium are often recommended for initial stretches because they are smooth and less likely to cause irritation. Acrylic, for example, is generally not a good choice for stretching, as it can be porous and harbor bacteria, which is definitely something you want to avoid, you see.
Listening to Your Body
This might be the most crucial advice of all when considering what size gauge to start stretching ears and throughout your entire stretching journey: listen to your body. Your ears will tell you if they are ready for a stretch or if something isn't quite right. Stretching should never, ever be painful. If you feel sharp pain, a burning sensation, or any significant discomfort, stop immediately, honestly.
A little tightness or a slight pressure is usually okay, but anything more than that is a clear signal to wait. Forcing a stretch can cause serious damage, like tears, blowouts, or thinning of the earlobe. These kinds of injuries can lead to permanent damage, making it impossible to stretch further or even requiring surgery to fix. So, paying attention to what your body tells you is paramount, you know?
Sometimes, your ear just needs more time. Everyone's body is different, and some people's ears will stretch more easily than others. There's no set timeline for how long each stretch will take. If a particular size isn't going in easily, that's your cue to wait a few more weeks, or even a month, before trying again. It's better to be patient and safe than to rush and cause problems, you see, that's really the main idea.
The Stretching Process: A Gentle Approach
Once you've decided on what size gauge to start stretching ears and have your jewelry ready, the actual stretching process itself needs to be handled with care. It's not about shoving the jewelry through; it's about a slow, deliberate motion that allows the earlobe to expand naturally. This gentle approach helps prevent trauma and supports healthy tissue growth, which is pretty important.
The entire process, from preparing your ears to inserting the jewelry and taking care of it afterward, plays a part in your success. Each step builds on the last, creating a safe and comfortable experience. Rushing any part of this can undo all your careful planning. So, let's go through the steps, making sure you have all the information you need for a smooth start, you know.
Preparing Your Ears
Before you even think about inserting your first stretching jewelry, you need to prepare your ears. A warm shower or a warm compress applied to your earlobes for about 5-10 minutes can make a big difference. The warmth helps to increase blood flow to the area and makes the tissue more pliable, a little softer, which can make the stretching process easier and more comfortable, honestly.
After warming your ears, make sure your hands are thoroughly clean. Wash them with antibacterial soap and dry them completely. You also want to clean your earlobes and the jewelry you're about to use. A mild, fragrance-free soap or a saline solution works well for this. Cleanliness is super important to prevent any infections, which is something you definitely want to avoid, you see.
You'll also need a good lubricant. Jojoba oil, vitamin E oil, or a specialized ear stretching balm are excellent choices. Apply a small amount of lubricant to your earlobe and to the taper or plug you'll be using. This helps the jewelry slide through smoothly, reducing friction and making the process much less uncomfortable. It's a small step that makes a very big difference, actually.
Inserting Your First Piece
When you're ready to insert your first piece of stretching jewelry, typically a taper, do it slowly and carefully. A taper is a cone-shaped piece of jewelry that gradually gets wider, allowing you to gently push it through your piercing until the widest part, which matches your target gauge, is in place. This gradual increase in size is key, you know, for a smooth stretch.
Apply the lubricant again to the taper and the entrance of your piercing. Gently, and we mean very gently, push the taper through your earlobe. Do not force it. If you meet resistance or feel any sharp pain, stop. Pull the taper out, re-lubricate, and try again, or simply wait a few more days or weeks before attempting it once more. Patience is really your best friend here, honestly.
Once the taper is through, you'll then insert the actual plug or tunnel. Most tapers come with a groove at the end where you can line up your plug. You then push the plug through, using the taper to guide it into place. Once the plug is in, remove the taper. Secure the plug with its O-rings or flared back. Make sure it feels comfortable and not too tight, that's pretty important.
Cleaning and Care
After you've successfully inserted your first stretch, daily cleaning is absolutely essential. You'll want to clean your stretched ears at least once a day, usually twice, with a mild, fragrance-free soap or saline solution. Gently wash around the jewelry and the earlobe, making sure to remove any crusties or buildup. Then, rinse thoroughly with warm water, you know.
While cleaning, it's a good idea to gently massage your earlobes with a small amount of jojoba oil or vitamin E oil. This helps to keep the tissue moisturized and elastic, which is vital for healthy stretching. It also promotes blood flow, which helps with healing and future stretches. This daily care routine helps prevent dryness and irritation, which can make a big difference, honestly.
Avoid harsh chemicals, alcohol, or hydrogen peroxide, as these can dry out and damage the delicate tissue of your earlobes. Keep your hands clean whenever you touch your ears, especially during the initial healing period for a new stretch. Good hygiene is paramount for preventing infections and ensuring your ears stay healthy throughout your stretching journey, you see.
Waiting Between Stretches
This is where patience truly comes into play, even more so than deciding what size gauge to start stretching ears. After each stretch, you need to give your ears plenty of time to heal and relax before attempting the next size. Rushing this period is one of the most common mistakes people make, and it leads to all sorts of problems. Your earlobe needs to fully adapt to its new size, you know.
The general rule of thumb is to wait a minimum of one month, and often two to three months, between each stretch, especially for smaller sizes. As you go up in size, the waiting period might even need to be longer. Some people wait six months or more between larger stretches. There's no rush to get to a certain size; your ears will tell you when they are ready for the next step, honestly.
During this waiting period, continue with your daily cleaning and moisturizing routine. You can also gently massage your earlobes to keep them supple. When you feel no tightness, no soreness, and the jewelry moves freely in your ear, that's a good sign that your ear is ready for the next small increase. But still, always proceed with caution and listen to your body, that's really important.
Common Mistakes to Avoid
Even with the best intentions and knowing what size gauge to start stretching ears, people sometimes make mistakes that can set back their progress or even cause damage. Being aware of these common pitfalls can help you avoid them and keep your stretching journey smooth and healthy. It's about learning from others' experiences, you know, to make your own better.
Avoiding these issues is just as important as following the correct steps. It's like having a map for a trip; knowing where the tricky spots are helps you steer clear of trouble. So, let's look at some of the things you really want to avoid doing when you're stretching your ears, to keep them in top condition, honestly.
Going Too Fast
As we've mentioned, going too fast is probably the biggest mistake you can make. It's tempting to want to reach your goal size quickly, but your earlobes simply can't keep up with rapid changes. Forcing a stretch before your ear is ready can cause a "blowout," where the inside tissue of your earlobe gets pushed out the back, forming a ring of excess skin. This is painful, unsightly, and very hard to fix, you see.
Rapid stretching can also lead to tears in the tissue, which can get infected and cause significant scarring. Scar tissue is much less elastic than healthy tissue, making future stretches even more difficult or impossible. It can also make your earlobes look thin and unhealthy, which is probably not the look you're going for. So, resist the urge to rush, no matter what, honestly.
Remember, the goal is healthy, happy, stretched ears, not just reaching a certain size as quickly as possible. Each ear is different, and what works for one person might not work for another. Be patient with your own body, and give it the time it needs to adapt to each new size. It's a marathon, not a sprint, you know, in a way.
Using the Wrong Materials
The type of jewelry material you use, especially for initial stretches and during the healing process, is incredibly important. Some materials are much safer and more body-friendly than others. Using the wrong material can lead to irritation, allergic reactions, or infections, which is definitely something you want to avoid, you see.
For stretching, and for wearing in newly stretched ears, stick to non-porous, inert materials. Glass, surgical stainless steel (316L or higher), and implant-grade titanium are excellent choices. These materials are smooth, easy to clean, and less likely to cause issues. They also don't harbor bacteria easily, which is a big plus for hygiene, honestly.
Avoid materials like acrylic, silicone, or organic materials (like wood or bone) for fresh stretches or if your ears are irritated. Acrylic can be porous and release chemicals. Silicone is great for healed stretches but can stick to healing tissue. Organic materials are porous and can absorb bacteria, making them unsuitable for new or healing stretches. Always choose wisely, you know, for your ear's health.
Ignoring Pain Signals
This point ties back to listening to your body, but it's so important it needs its own mention. Any significant pain during stretching is a red flag. Pain means damage. A little pressure or a slight tingling might be normal, but sharp pain, throbbing, or intense discomfort is a clear sign that you are pushing too hard or your ear is not ready. Ignoring these signals is a recipe for trouble, you know.
If you experience pain, stop the stretch immediately. Take out the jewelry and let your earlobe rest and heal. You might need to downsize back to the previous gauge for a while, or even remove all jewelry and let the piercing shrink back down if the pain is severe or if there's any bleeding. It's better to take a step back than to cause permanent damage, honestly.
Pain is your body's way of telling you something is wrong. Respect that signal. Pushing through pain can lead to blowouts, infections, or permanent thinning of the earlobe, which can prevent you from stretching further in the future. So, always prioritize comfort and health over speed, that's the main idea, you see.
Frequently Asked Questions
Is it okay to skip sizes when stretching ears?
No, it is generally not okay to skip sizes when stretching ears. Skipping sizes is a common cause of damage, like tears or blowouts. Each gauge size is a small, incremental step designed to allow your earlobe tissue to gradually expand and heal. When you skip a size, you are forcing your ear to stretch a much larger amount than it is ready for, which can lead to injury and scarring. It's much safer and healthier to go one size at a time, allowing your ears to fully adjust to each new piece, you know, for the best outcome.
How long should I wait between ear stretches?
The waiting period between ear stretches varies, but patience is key. For smaller gauges, a minimum of one month is usually recommended. As you move to larger sizes, you might need to wait two, three, or even six months or more between stretches. Your
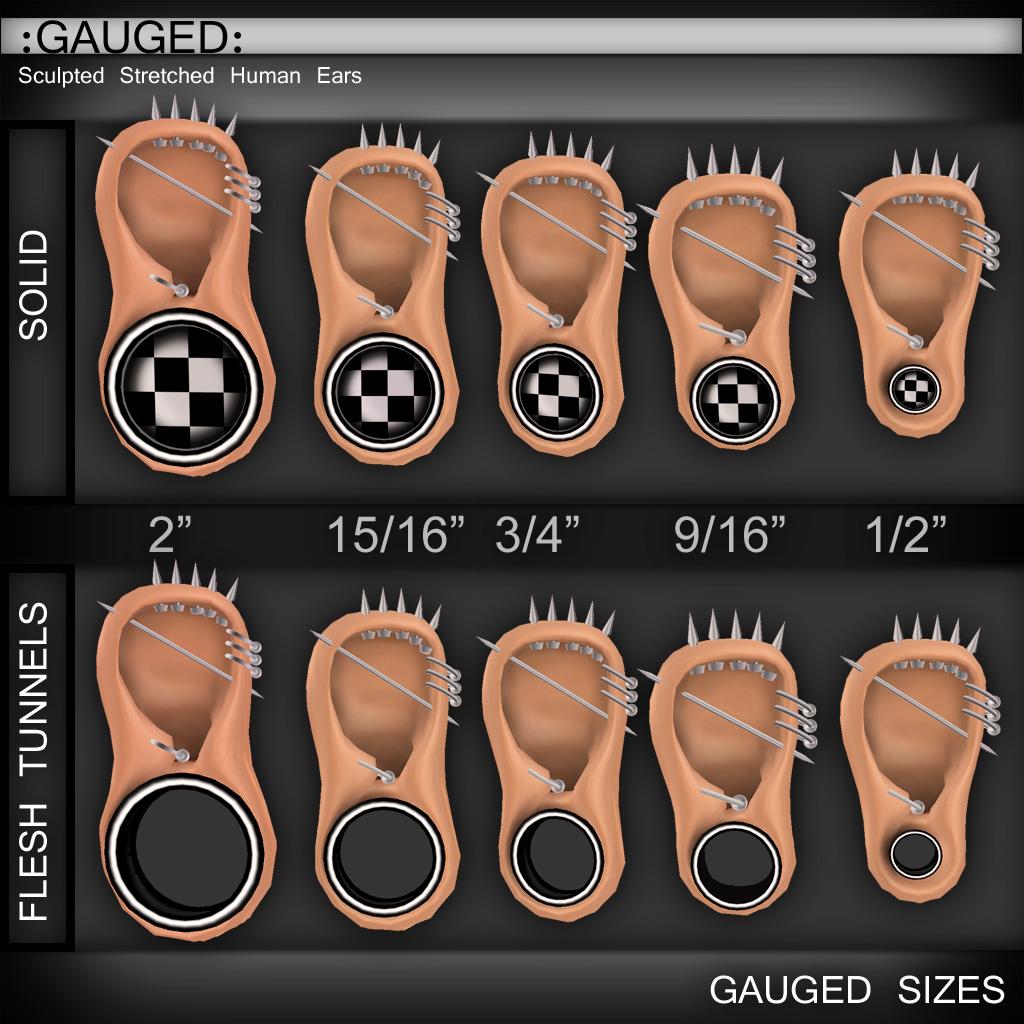
Gauge Sizes Gauge Size Chart How To Stretch Your Ears - vrogue.co

Gauge Chart For Ears Actual Size

How To Tell What Size Gauge Your Ears Are at Dane Townsend blog
